But I still like to show you the photos of how craft area was last year because I still remember how it was so fun to organize such area. I am so into organizing craft supplies. I love the challenge organizing small things especially when they are so small, so pretty and so colourful. So let's take a look
Showing posts with label Closet. Show all posts
Tuesday, July 28, 2015
An organized craft supplies area
Our craft section in the office room was occupying an Ikea BILLY bookcase in our office room. Last year I wasn't so excellent enough in taking photos and the DIYs were not so perfect from my point of view and now the craft area is a little empty and it has been put in hold for a while as we have a nice toddler running around and when it comes to a jewellery maker craft storage ... This is absolutely dangerous for my toddler.
Monday, September 15, 2014
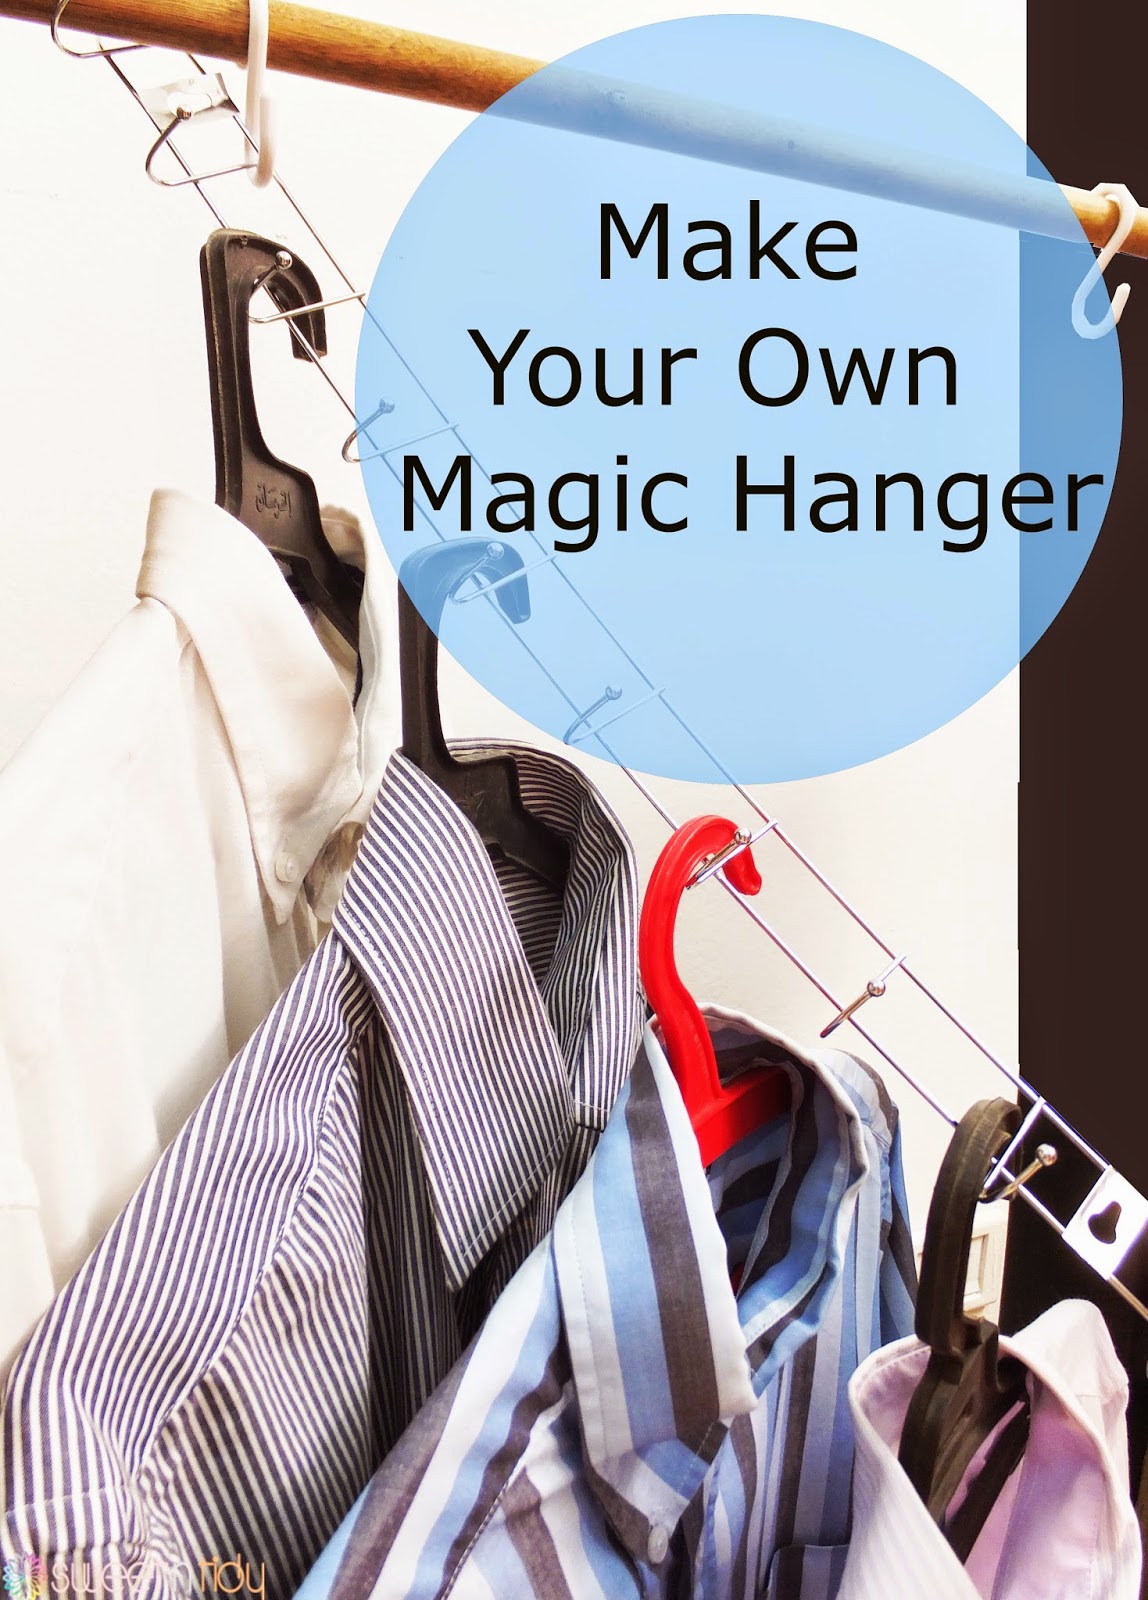
Make your own Magic hanger
You know how much this saves space, right?. It is useful for small closets and limited spaces. I wish I could buy too many, but why I have to buy when I already have a free one in my home? I just inspired the idea and it's all done. I couldn't believe I have it.
Anyone can do it with no time . It's super easy and inexpensive. Do you you know the hangers we used to hang behind doors? those which you find everywhere in dollar store ? Just check this out.
This is the normal hanger. With S-shape hooks I hang it to the closet stick.
The hanger already is divided like a chain.I hanged a cloth hanger in each section.
So this is the normal state for the magic hanger. To maximize the space . Just remove one S-shape hook and you are done. Are you ready?
Tadaaaaaaaaaaaaaaa .
You can see now. The shirts take no much space . No screws . No drill . No even glue and DIY complicated steps. Just S- shape hook and regular door hanger. you are done. Congratulation for the new magic hanger you freely have.
All the shirts now are hanging vertically . I love the way it turns.
You can see now. The shirts take no much space . No screws . No drill . No even glue and DIY complicated steps. Just S- shape hook and regular door hanger. you are done. Congratulation for the new magic hanger you freely have.
I hope you liked this post. Please leave a comment below if you liked this. Make my day and subscribe to not miss any up-coming posts. See you.
Sunday, June 22, 2014
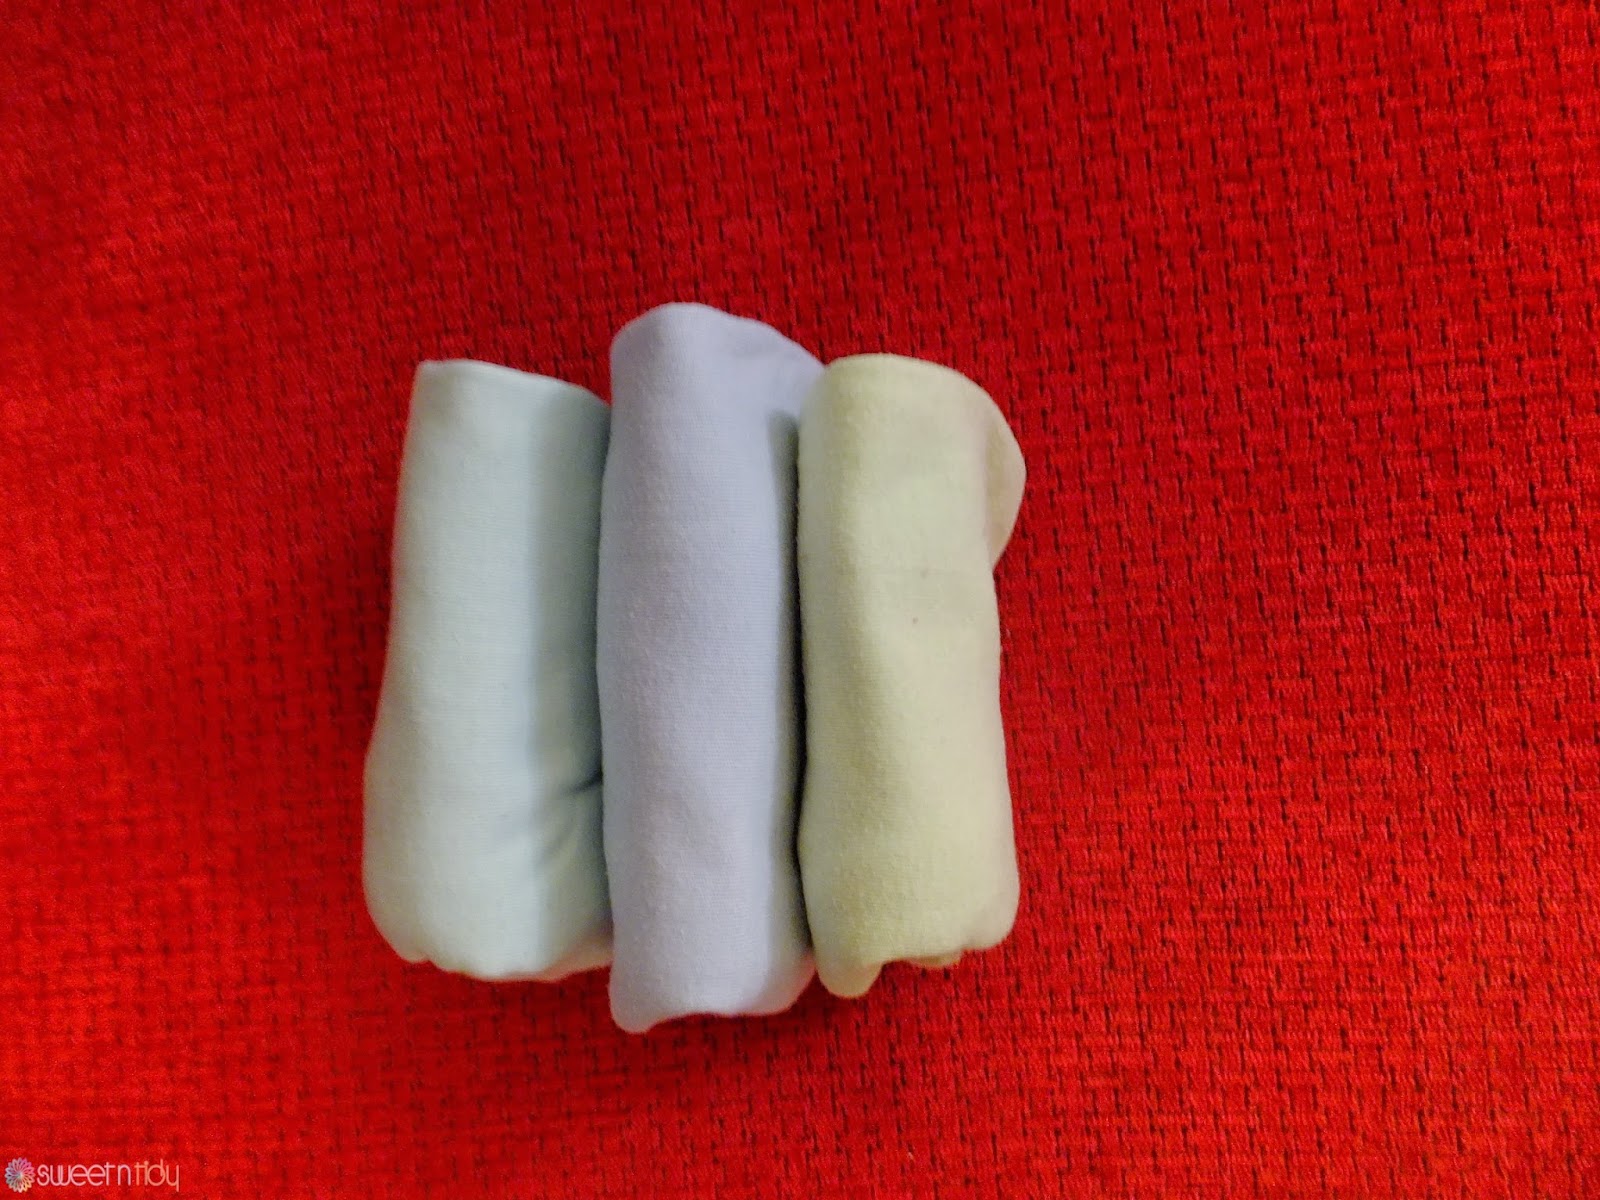
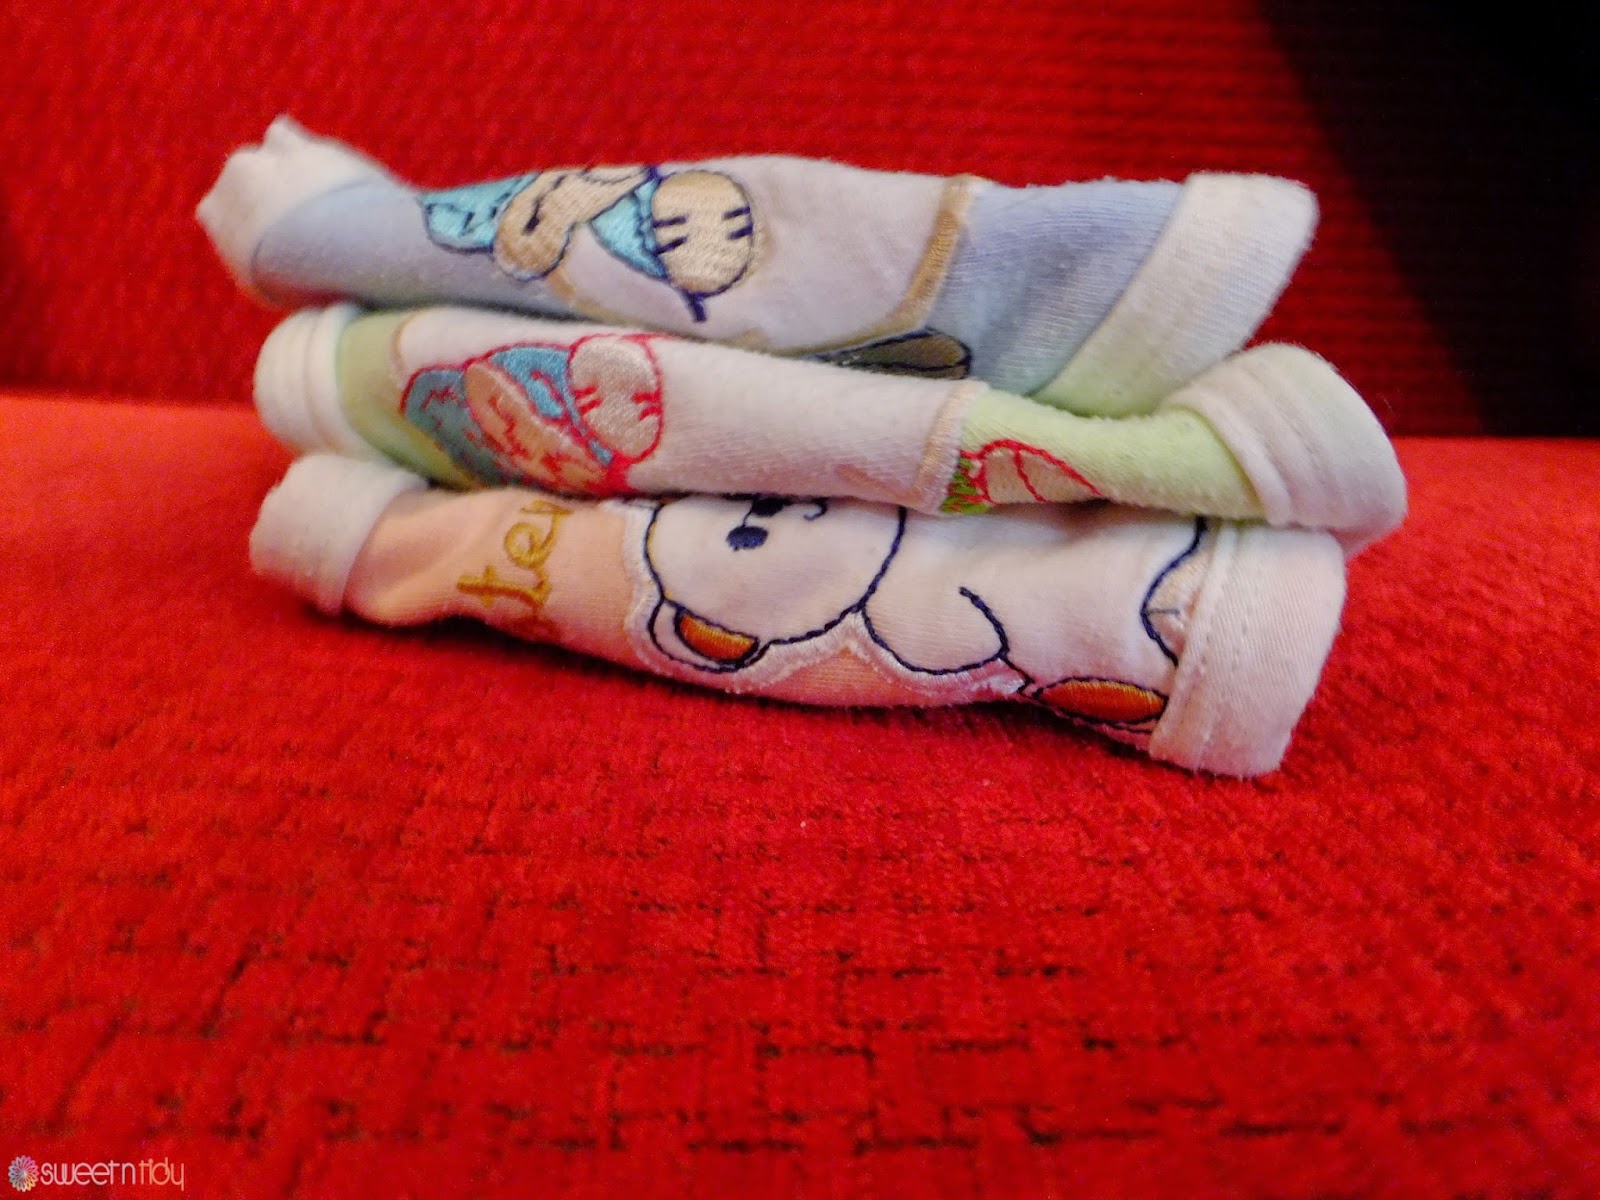
How to fold baby clothes
Short sleeves
1- Turn the piece to the right size (This step is applicable for all pieces)
3 - Fold the lower part up into half
4 - Fold into half again
5 - Fold all pieces
Long sleeves
1 - Turn the right side of the piece
2 - Fold sleeves and ends inside
3 - Fold into horizontal half
4 - Fold in half again
Under shirts
Trousers
Most Kinds of bibs
Underwear
The result
I hope the pictures were clear and instructions were easy. If you like to have a tour in the dresser click here. I hope you like this post. See your comments, feedback and responses. See you next post.
Thursday, March 13, 2014
Free decorative item around your home
Its true I go with the concept of throwing away anything you don't need, but if it really looks reusable, why don't we keep it? especially when it returns to be useful. This decorative plate I got from the supermarket and it was holding some dates.
And for this nice bowl, I bought it from home store and it was inexpensive. It cost few cents.
Aren't they look simple, tidy and beautiful decoration pieces? Please let me know your feedback, responses and comments. Your responses will be the next talking center of-course. I am waiting for your pictures and ideas about home organizing and DIYs.
It looks clean and tidy like you can not throw it away without asking yourself what can I use it for ?
Actually you can use it for too many things. But I was thinking to use it as a beautiful decoration piece. When I was in a tour in Ikea, I saw these little gorgeous decoration torka balls.
They are simple and uni-colored. I loved them but I didn't buy them. I was in a harry and this little beautiful plate came into my way while I was organizing. I was in my craft room organizing my coroche rolls. Coroche often comes with this shape.
I turned them into nice balls shaped like this.
It looked much similar to the balls I saw in Ikea. I just secured the end of the thread by passing it through the ball. I don't know if you can see it. I did my best to catch it with the camera.
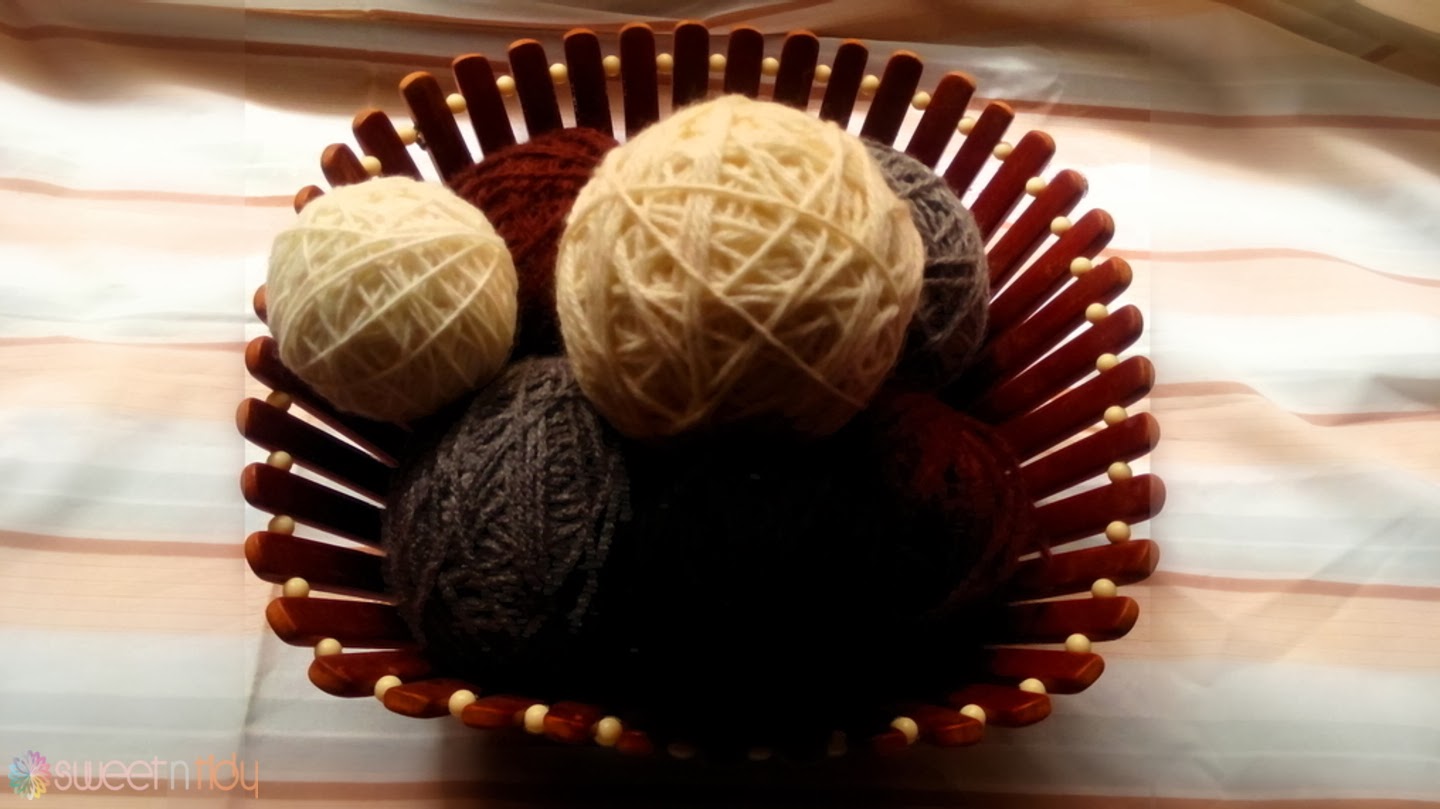
I came up with some colors and made the same thing. I picked the colors matches my living room colors.
And with my beautiful plate I made this nice look.
Subscribe to:
Posts (Atom)