Showing posts with label Kids. Show all posts

Saturday, June 6, 2015

DIY diaper changing organizer

One of my favourite projects that really work for years now is my toddler DIY changing diaper organizer. I know I have shared it before but I thought also of making an update as some changes occurred. My toddler grew up a little and he no longer sticks in a place so some habits and activities changed. Another reason is because I didn't share an exact tutorial of how to make it. So here we are.

DIY diaper changing organizer

Saturday, July 26, 2014

Free baby dresser labels

I shared my baby dresser while ago and  I would like to share also the cute labels I made for this adorable dresser

Free baby dresser labels

Feel free to download it from here. I hope you liked them . I think they are so cute aren't they ? I am waiting for your comments and feedback. See you next post.

Wednesday, July 23, 2014

Quick Organizing Tips : Exact baby milk standard every time

I like to share this little cute tip with you . I don't rely compeltely on baby milk bottles but sometimes I need it. When I open a new baby milk tin I like to cut the metal cover just like this.


Quick Tip : Exact baby milk standard every time


When I make the milk bottle I like to have an edge to sweep the standard spoon in it to get the right amount of milk each time

Quick Tip : Exact baby milk standard every time


I liked the idea so much.  You can use a tape to do the same concept. You can also it in all your seasoning.

Quick Tip : Exact baby milk standard every time

Quick Tip : Exact baby milk standard every time


I am waiting for your feedback and comments. If you have any question I am happy to answer you. Thank you for reading. See you next post.

Monday, June 23, 2014

My baby travel size shower set


Hi Sweeties. I would like to share my baby travel size shower set that is always inside his diapers bag. It is useful when I go to my mother for two days or something.


My baby travel size shower set


I mad this small bag out of old blouse. I cut a rectangular shape piece of fabric and connected the short ends to the zipper. Face the wrong side of fabric and sew the long ends. Let's have a look inside.

My baby travel size shower set

There's baby lotion, baby powder, baby oil and there's a baby shampoo in the very deep inside.

My baby travel size shower set

Here is a close view 

My baby travel size shower set


I filled the baby powder in a toothpicks container. This was brilliant cause this container is the best travel size for filling a powder inside. Have a look

My baby travel size shower set

My baby travel size shower set

It has super convenient holes for powder. One is big and the other is dotted.

My baby travel size shower set

The baby lotion container was a vitamin tablets container. This is not the same design but to show you what I mean.

My baby travel size shower set

Of course the shampoo container was a shampoo container but this was for general shampoo. When it got empty I washed it and refilled it with my baby shampoo. The label is a little blurred because of some shower reasons :). If you want these labels just leave a comment below.


My baby travel size shower set

The baby oil is refilled  in and old washed eye dropper container. I refilled it using syringe. It took me some time but worth.

My baby travel size shower set

Remember the control the mess concept we have learned weeks ago? I applied it here because I don't want the shampoo, the lotion or the oil to leak outside and make an uncontrollable mess. So I cut pieces of plastic bags and cover the top of each container before I close the cap. This way it will tightly close and will not leak outside the bottles. 

I hope you liked this post and I want to see your comments, feedback and responses. Thank you for reading

Sunday, June 22, 2014

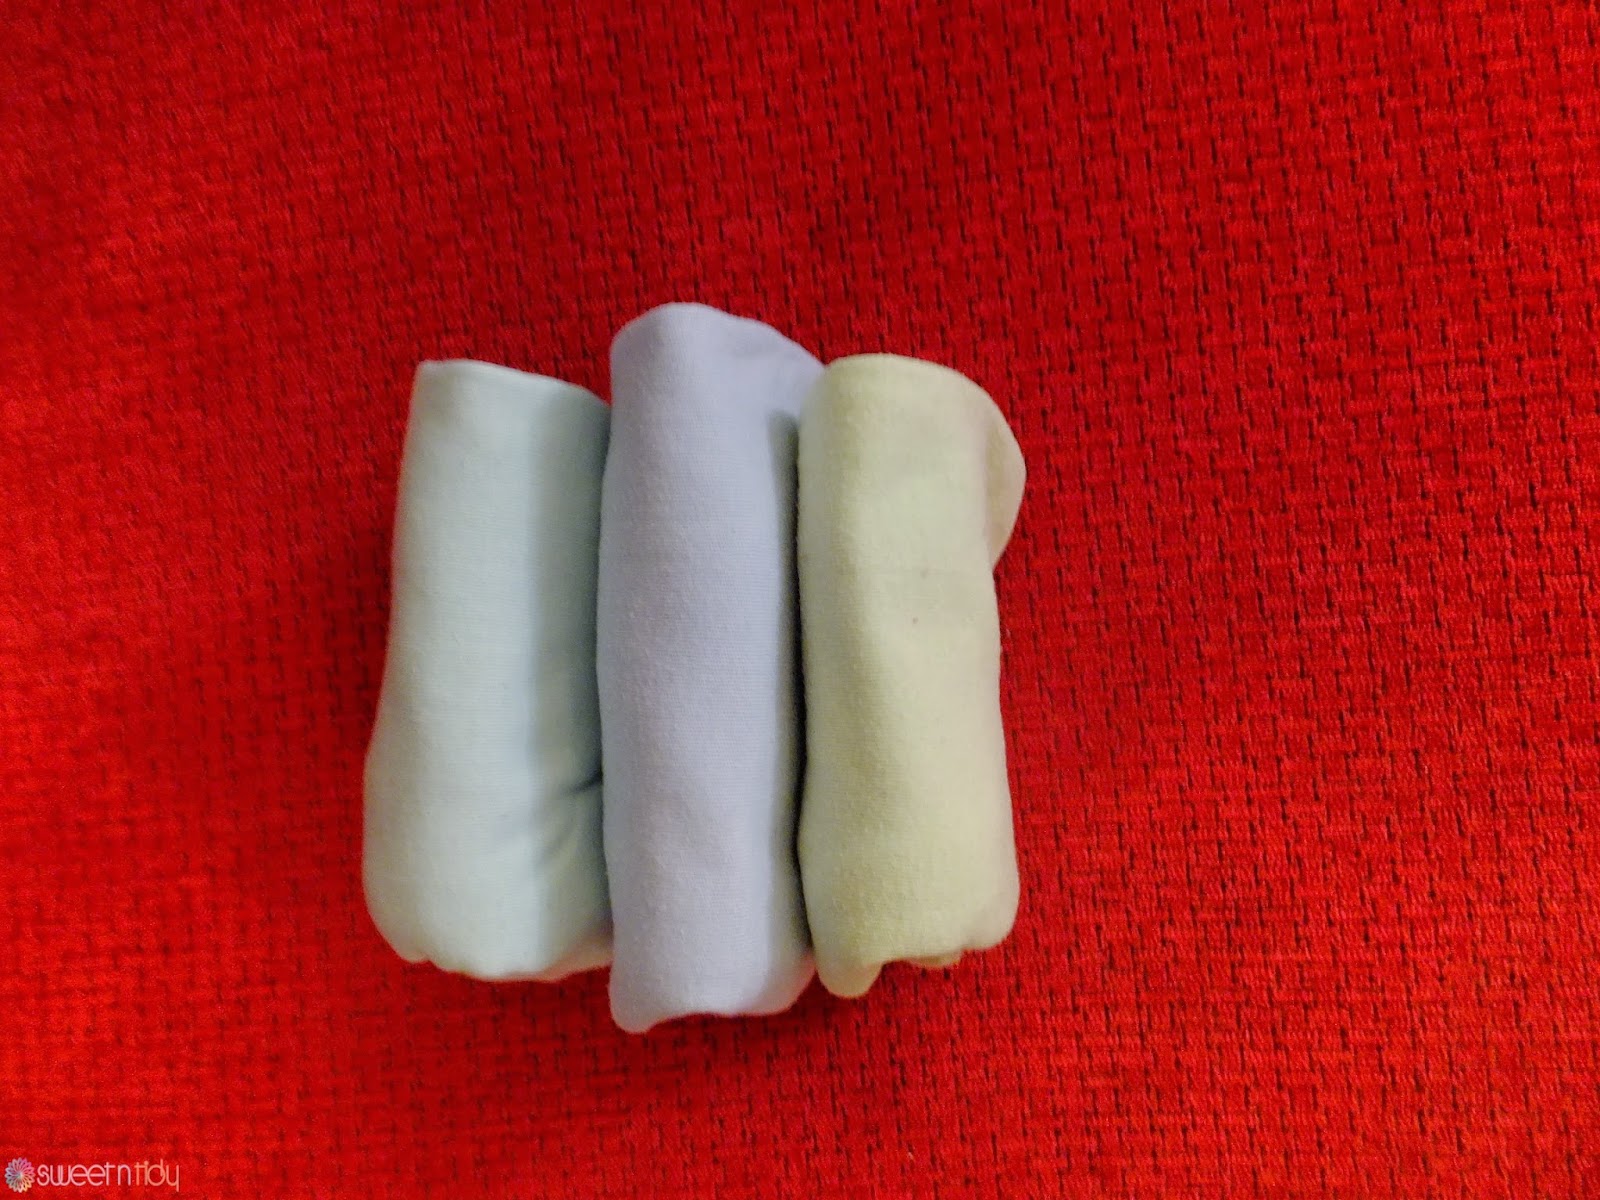
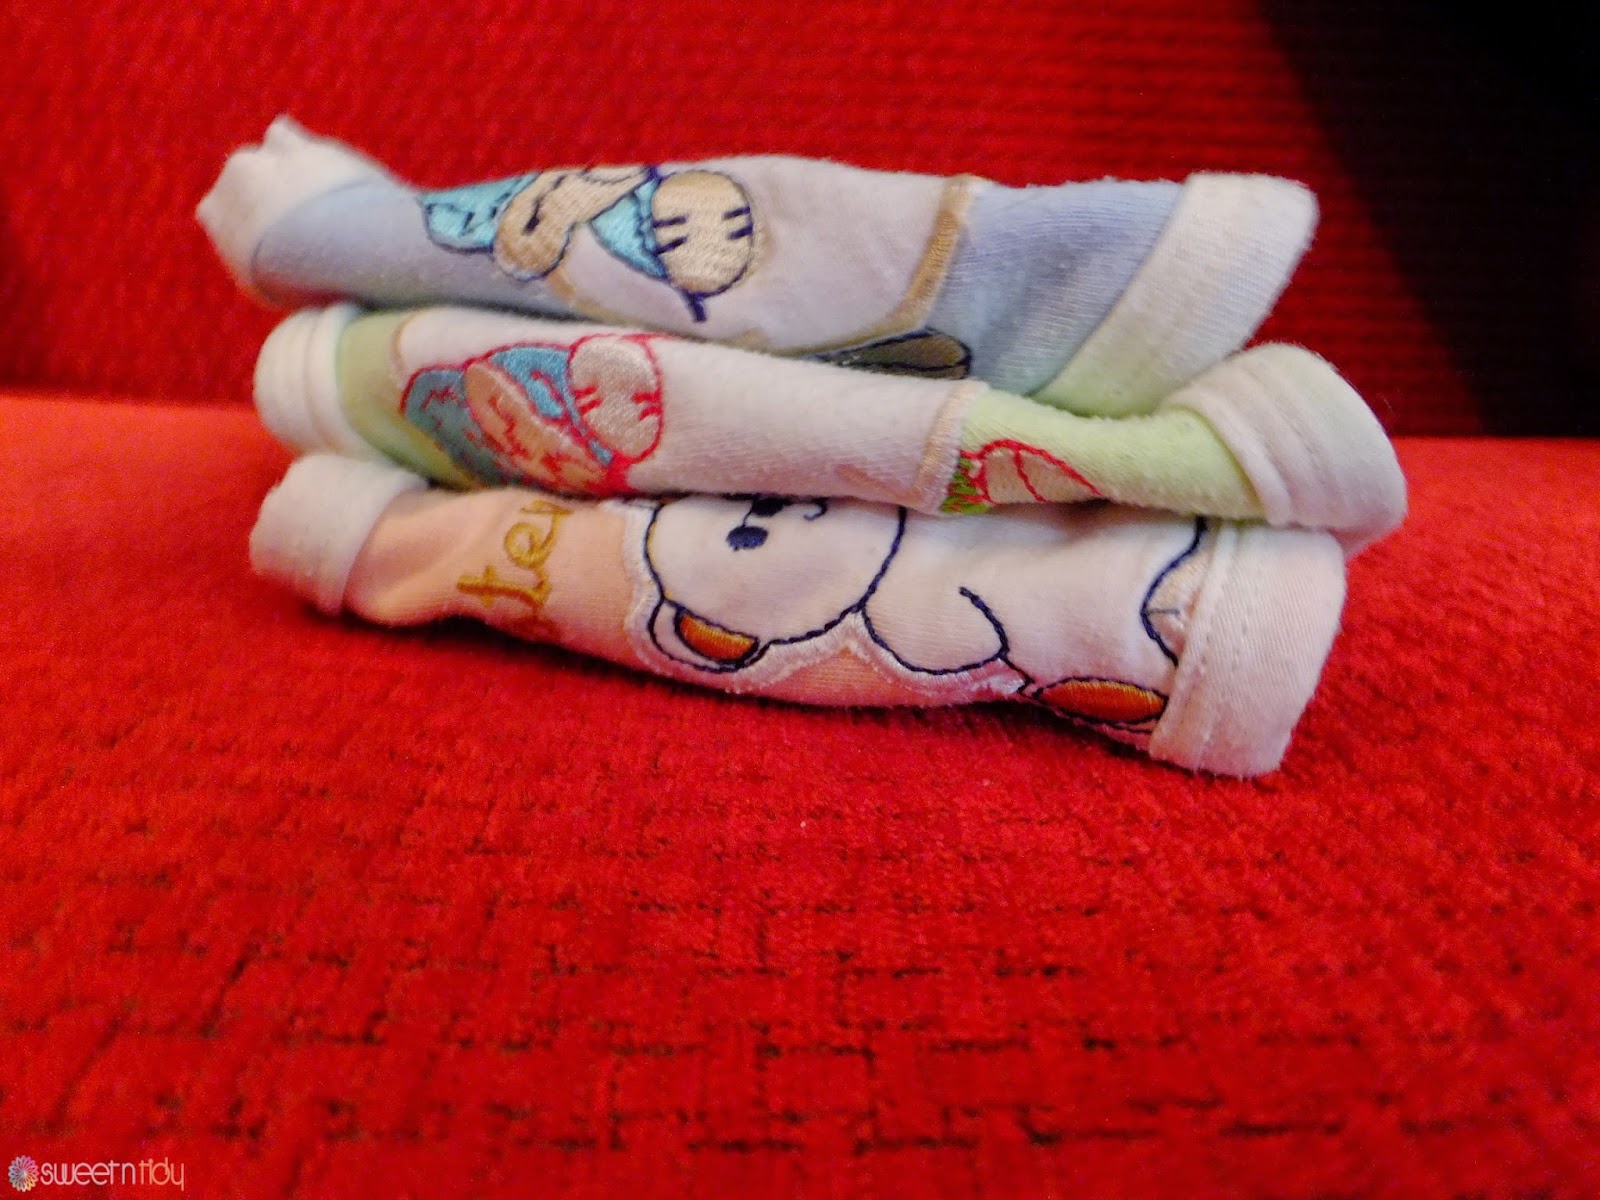
How to fold baby clothes

Last month I shared my baby dresser and it is time to share how do I fold my baby clothes. I will not talk too much in this blog because pictures are talking enough. So let's start step by step.


Short sleeves


1- Turn the piece to the right size (This step is applicable for all pieces)


2 - fold the sleeves and the ends in

How to fold baby clothes

3 - Fold the lower part up into half


4 - Fold into half again
How to fold baby clothes

5 - Fold all pieces

How to fold baby clothes

Long sleeves


1 - Turn the right side of the piece

How to fold baby clothes

2 - Fold sleeves and ends inside

How to fold baby clothes
3 - Fold into horizontal half

How to fold baby clothes

4 - Fold in half again

How to fold baby clothes

Under shirts

How to fold baby clothes

How to fold baby clothes

How to fold baby clothes

How to fold baby clothes

How to fold baby clothes

Trousers


How to fold baby clothes

How to fold baby clothes

How to fold baby clothes

How to fold baby clothes

How to fold baby clothes

Most Kinds of bibs


How to fold baby clothes

How to fold baby clothes

How to fold baby clothes

How to fold baby clothes


How to fold baby clothes

How to fold baby clothes


How to fold baby clothes

How to fold baby clothes

How to fold baby clothes

How to fold baby clothes

How to fold baby clothes

How to fold baby clothes

How to fold baby clothes


How to fold baby clothes

Underwear


How to fold baby clothes

How to fold baby clothes

How to fold baby clothes

How to fold baby clothes

How to fold baby clothes


The result


How to fold baby clothes

How to fold baby clothes

How to fold baby clothes


I hope the pictures were clear and instructions were easy. If you like to have a tour in the dresser click here. I hope you like this post. See your comments, feedback and responses. See you next post.