Showing posts with label Inexpensive. Show all posts

Saturday, June 6, 2015

DIY diaper changing organizer

One of my favourite projects that really work for years now is my toddler DIY changing diaper organizer. I know I have shared it before but I thought also of making an update as some changes occurred. My toddler grew up a little and he no longer sticks in a place so some habits and activities changed. Another reason is because I didn't share an exact tutorial of how to make it. So here we are.

DIY diaper changing organizer

Thursday, May 14, 2015

A simple mail center

The simplicity of a project is very important to keep it usable and functional. In our house entryway, we have a very simple mail system. Beside the shoes storage we added two simple magazines' racks. I decided to specify them to manage and organize all papers that come in and out our home in the mean time before they get filed.

Organizing mail center

We have a black shoes storage. I found these magazines' rack in an office supplies shop. Each one costs 100 EGP which are 13$. I wish I had them in black but I couldn't find them in colours. I solved the problem by purchasing some black files and put them inside the clear organizers. They look now more fantastic than I thought. Each one of these two racks is divided into two pockets. I aimed to keep the mail center as simple as possible to be easy for all family members to use. So four sections for the whole system are more than enough for me to sort papers.


Organizing mail center


The first two pockets are holding all papers that come in and out of the home. Inbox for incoming mail and Outbox for outgoing one. Paying bills as soon as possible and checking the mail daily are excellent tips for keeping your papers organized. So these two categories are so helpful when I feel lazy to sort the mail in more details or when I am in a hurry. When I get the mail, the whole papers are kept in the inbox section till the time they get sorted. The Outbox section holds the papers that need to go somewhere out of the house.

Organizing mail center


The other two pockets are used when I have some time to sort the mail. "To File" is the pocket where I put any papers that need to be filed in the office room or in my receipts file. Any papers I want to keep like paid bills or bank statements are kept in there.


Organizing mail center


Any bills need to be paid, paper that needs an action to call, to reserve or to ask for more details are all kept in the "To Process" pocket. It also holds any papers I want to take look at like catalogues or invitations. Any other unneeded papers are thrown away in the trash can after blacking out some sensitive information.

Organizing mail centre center

How to you sort your mail? What are the categories you specify for it? I am waiting for you to share your organizing projects to inspire me. See you in the up-coming post.

Thursday, April 16, 2015

Happy Easter + Back again

It has been a long time since I released my last post. I really missed my few beautiful readers and I missed blogging so much. It was a hard way to go through to be able to back in blogging. I was making some changes in house and redesigning some of stuff places.  I just needed some time to get myself organized with bunch of challenges I am living with around my home.  You will excuse me if I said that I have no pantry. No coat closet. No linen closet. No laundry room. No basement or garage. I have smallest kitchen ever. I live in two bathrooms and one kitchen house with no closed cabinets under any sink. I know I can get some extra furniture and wardrobes and add some storages everywhere but as you know, we are renting the house and moving into smaller house is an option and I like to be sure I will not end up with throwing away some furniture plus I like the challenges and problem solving. So I am so excited about coming back and share all my solutions I came up with in the upcoming posts.

you also may noticed that www.sweetntidy.blogspot.com is changed into www.sweetntidy.com. Yes, I made some changes to our blog and I am looking forward a cleaner and neater look for its pages. Also looking forward improving my writing and photographing skills.


It's Easter time. I hope these beautiful Easter eggs give a good reason to forgive me for this long time of absence. And I will take the chance to say Happy Easter for you and please enjoy the beautiful weather as much as you can.

Happy Easter eggs


In Easter and some special events, I like to show up my talent in decorating and DIYing. Easter is a good chance for playing with colors. I tried as much as I can to break the eggs as cleaner as possible with keeping the egg shape at the same time. It took some time but it worth it.

Happy Easter eggs


I also chose my son little basket he plays with to act as a home of my Easter eggs. Speaking about colors and fragile eggs, if you have toddlers do not try this at home :D :D. There were some accidents but they finally went fine. Maybe I should apology for taking his beautiful handmade basket.

Happy Easter eggs

I used bright colors and tried some beautiful shapes and flowers. Wasn't so hesitated to use some black. It gives awesome contrasts. also cutting some light brown scrap papers was a good idea to fill in the bottom of the basket to give that kind of nest look. I loved how they become and they are ready to decorate my home.

Happy Easter eggs

For me I liked not to make the shapes so perfect and show a little hand drawing and  avoiding so sharp and harsh lines and shapes. I like it that way because it shows up the DIY atmosphere and home warmness a little, right?

Happy Easter eggs

Using some color markers would be great also for drawing some shapes and flower. For me I used water colors and it turned out so beautifully also with the paint brush.

So, This is how I decorated my Easter eggs. I like to hear from you how do you spend your Easter time and I will be happy I you share your Easter eggs.

Monday, September 15, 2014

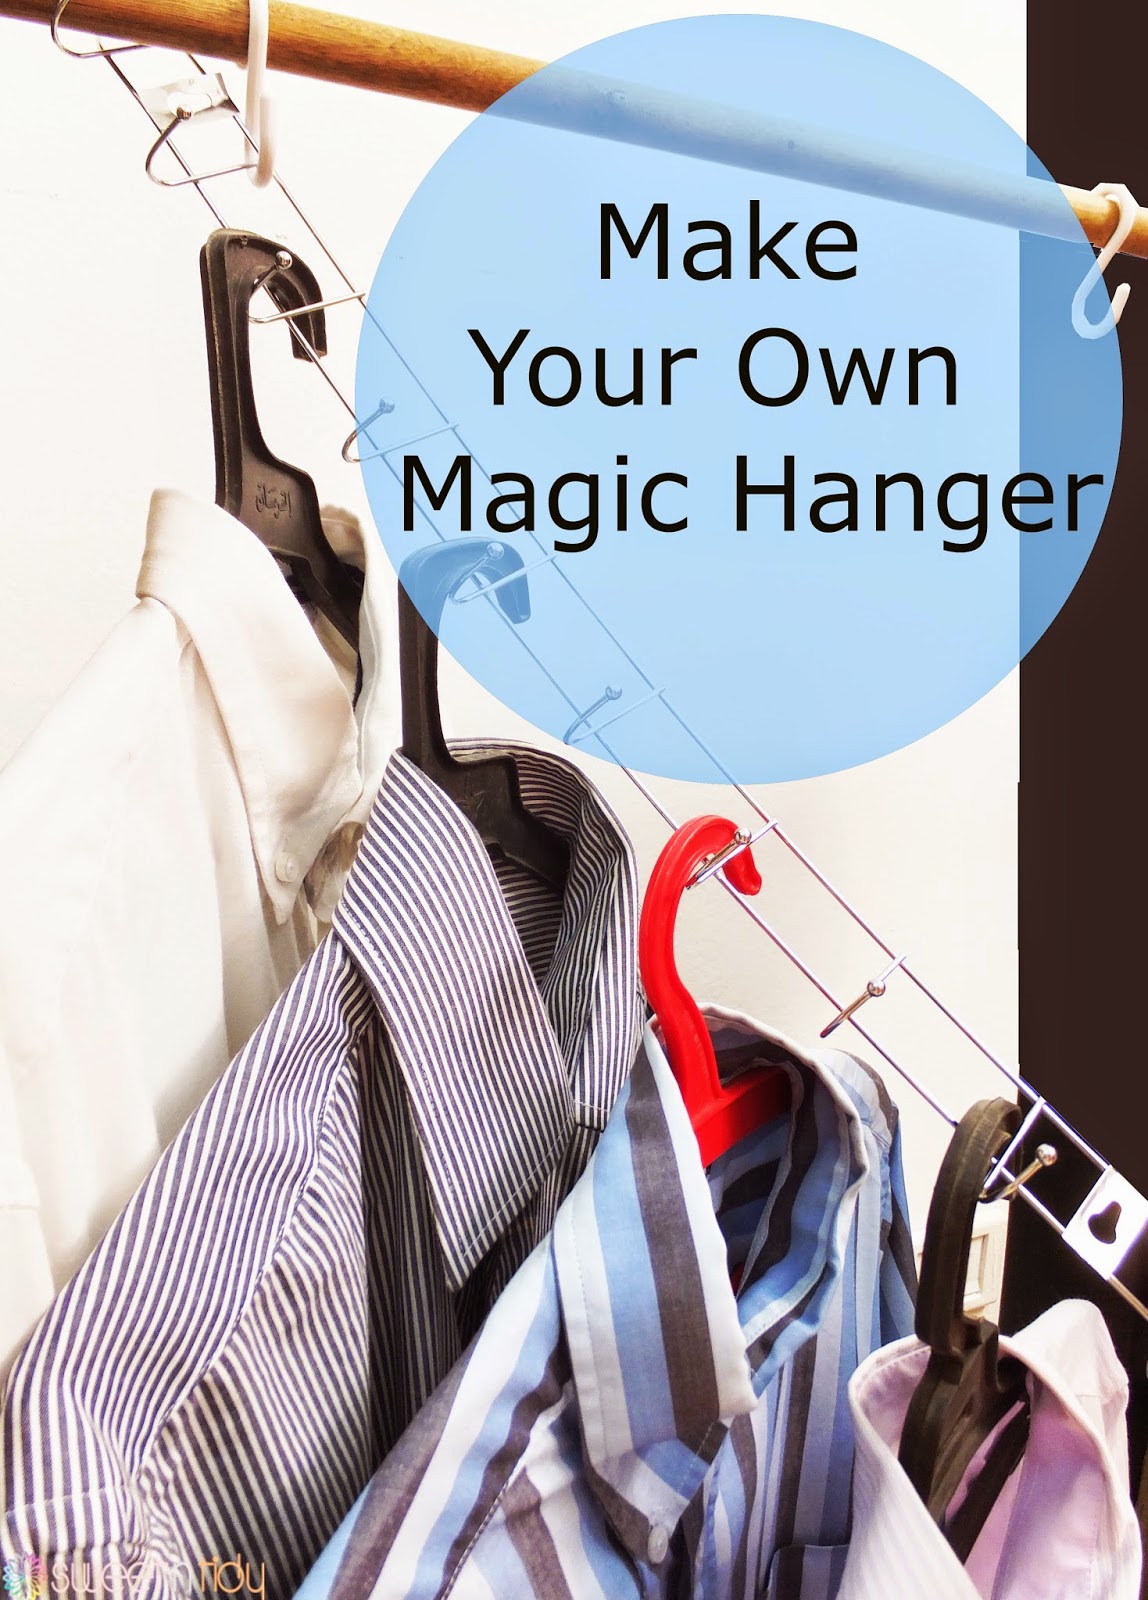
Make your own Magic hanger


Make your own Magic hanger


Remember those magic hangers we see on TV and here and there over the internet ?


You know how much this saves space, right?. It is useful for small closets and limited spaces. I wish I could buy too many, but why I have to buy when I already have a free one in my home? I just inspired the idea and it's all  done. I couldn't believe I have it. 


Anyone can do it with no time . It's super easy and inexpensive. Do you you know the hangers we used to  hang behind doors? those which you find everywhere in dollar store ? Just check this out.


Make your own Magic hanger

This is the normal hanger. With S-shape hooks I hang it to the closet stick.


 The hanger already is divided like a chain.I hanged a cloth hanger in each section.


So this is the normal state for the magic hanger. To maximize the space . Just remove one S-shape hook and you are done. Are you ready?

Make your own Magic hanger

Tadaaaaaaaaaaaaaaa .


All the shirts now are hanging vertically . I love the way it turns. 


Make your own Magic hanger


You can see now. The shirts take no much space . No screws . No drill . No even glue and DIY complicated steps. Just S- shape hook and regular door hanger. you are done. Congratulation for the new magic hanger you freely have.


I hope you liked this post. Please leave a comment below if you liked this. Make my day and subscribe to not miss any up-coming posts. See you.

Wednesday, July 23, 2014

Quick Organizing Tips : Exact baby milk standard every time

I like to share this little cute tip with you . I don't rely compeltely on baby milk bottles but sometimes I need it. When I open a new baby milk tin I like to cut the metal cover just like this.


Quick Tip : Exact baby milk standard every time


When I make the milk bottle I like to have an edge to sweep the standard spoon in it to get the right amount of milk each time

Quick Tip : Exact baby milk standard every time


I liked the idea so much.  You can use a tape to do the same concept. You can also it in all your seasoning.

Quick Tip : Exact baby milk standard every time

Quick Tip : Exact baby milk standard every time


I am waiting for your feedback and comments. If you have any question I am happy to answer you. Thank you for reading. See you next post.

Wednesday, July 2, 2014

How to organize ribbons

This is a lovely project I made few months ago. I organized my old and new ribbons in this small box and I spent ZERO BUDGET as usual.


This was a shoe box that I covered with contact papers and I organized all kinds of ribbons, threads and strings there. I also have my shiny tapes and wire rings.


How to organize ribbons


I know this doesn't look fancy but it still looks pretty, organized, Sweet N Tidy. These are all my ribbons. New ribbons, old ribbons and even the remains. I will show you exactly what I have done here.

First of all I used to have big wide spools with small amount of threads or ribbons, so I turned  all similarities into one spool to have several empty spools so that I can use them for other ribbons which don't have spools. I started to turn the ribbons over the spool, and because the spool was so wide and the ribbons were thin the spool was happy to take several ribbons close to each other. I secured their ends with a hot glue drop for each. I made this for only ribbons that have the same size and colors because I am sure I will use only one of them - it doesn't make sense to open one secured ribbon while I already have an opened one that has the same color and shape - so I am sure now that I will use the ribbon freely with no effect to the other ribbons in the same spool because they are secured.


Some of the ribbons weren't have any spools. I made a DIY spool for them using plastic bags cardboard roll and two pieces of cardboard that I cut into circles, You can see them in the purple and the green ribbons.


How to organize ribbons


I got grilling sticks and setup them into the box and have organized my ribbon spools inside them. To get the sticks more space to dig into, I added some pieces of thick tape.


How to organize ribbons

For short ribbons, I cut these pieces of cardboard and covered them with duct tape then I turned around the ribbons over them securing the ends with pins or like the upcoming photo shows.

How to organize ribbons

I secured the ribbons at the ends like that.

How to organize ribbons

Sometimes I use those remaining pieces of ribbons to make a ribbon colorful balls so I secured them with rubber bands .

How to organize ribbons

I used this small box to store them.

How to organize ribbons

I had some shiny tapes that I grouped them all with some broken sticks.

How to organize ribbons


So here we are. the final look

How to organize ribbons

How to organize ribbons


If you liked the post please comment. I am waiting for your comments and feedback. See you next post and thank you for reading.

This post has been featured/shared in 

Friday, June 27, 2014

My first aids set in my purse

I like to carry first aids set in my purse to use it when I need it. This is really helpful when something accidentally happen. If you have kids, this will be very important and you can't ignore it at all because children like to run everywhere and play and sometimes they got infection from other children. This is necessary for adults as well because sometimes you may get injured while you are trying to open something sharp or burn when you touch something hot.


Again I made a small bag out of old jeans that I had.

My first aids set in my purse

I cut out a rectangular shape piece of jeans and fold it into half horizontally. then I connected the short edges to the zipper and sewed the long edges. Let's have a look inside

My first aids set in my purse

Cotton pieces, germs killer or Alcohol, betadine, first aid pads, burns ointment, antibiotic ointment, digital and analog thermometers, aspirin, cold tablets, pain killer, antiemetic and ear infection dropper (if you are going to the beach or something).

My first aids set in my purse


I filled the Alcohol and betadine in washed and dried eye droppers containers with syringe. This will make them easy to wet a piece of cotton with.

My first aids set in my purse

Again, control the mess concept is applied here because I don't want 0.00000009% of possibility to have a leaked betadine over my stuff. So I cut pieces of plastic bags and cover the top before I close the caps.

My first aids set in my purse

In this eye contact container I put burns ointment and antibiotic ointment. I liked this idea I came up with because it suites what I need.

My first aids set in my purse


I hope this post was helpful and I would like to see your applies and your comments, feedback and responses. Thank you for reading and see you next post.

Sunday, June 22, 2014

How to fold baby clothes

Last month I shared my baby dresser and it is time to share how do I fold my baby clothes. I will not talk too much in this blog because pictures are talking enough. So let's start step by step.


Short sleeves


1- Turn the piece to the right size (This step is applicable for all pieces)


2 - fold the sleeves and the ends in

How to fold baby clothes

3 - Fold the lower part up into half


4 - Fold into half again
How to fold baby clothes

5 - Fold all pieces

How to fold baby clothes

Long sleeves


1 - Turn the right side of the piece

How to fold baby clothes

2 - Fold sleeves and ends inside

How to fold baby clothes
3 - Fold into horizontal half

How to fold baby clothes

4 - Fold in half again

How to fold baby clothes

Under shirts

How to fold baby clothes

How to fold baby clothes

How to fold baby clothes

How to fold baby clothes

How to fold baby clothes

Trousers


How to fold baby clothes

How to fold baby clothes

How to fold baby clothes

How to fold baby clothes

How to fold baby clothes

Most Kinds of bibs


How to fold baby clothes

How to fold baby clothes

How to fold baby clothes

How to fold baby clothes


How to fold baby clothes

How to fold baby clothes


How to fold baby clothes

How to fold baby clothes

How to fold baby clothes

How to fold baby clothes

How to fold baby clothes

How to fold baby clothes

How to fold baby clothes


How to fold baby clothes

Underwear


How to fold baby clothes

How to fold baby clothes

How to fold baby clothes

How to fold baby clothes

How to fold baby clothes


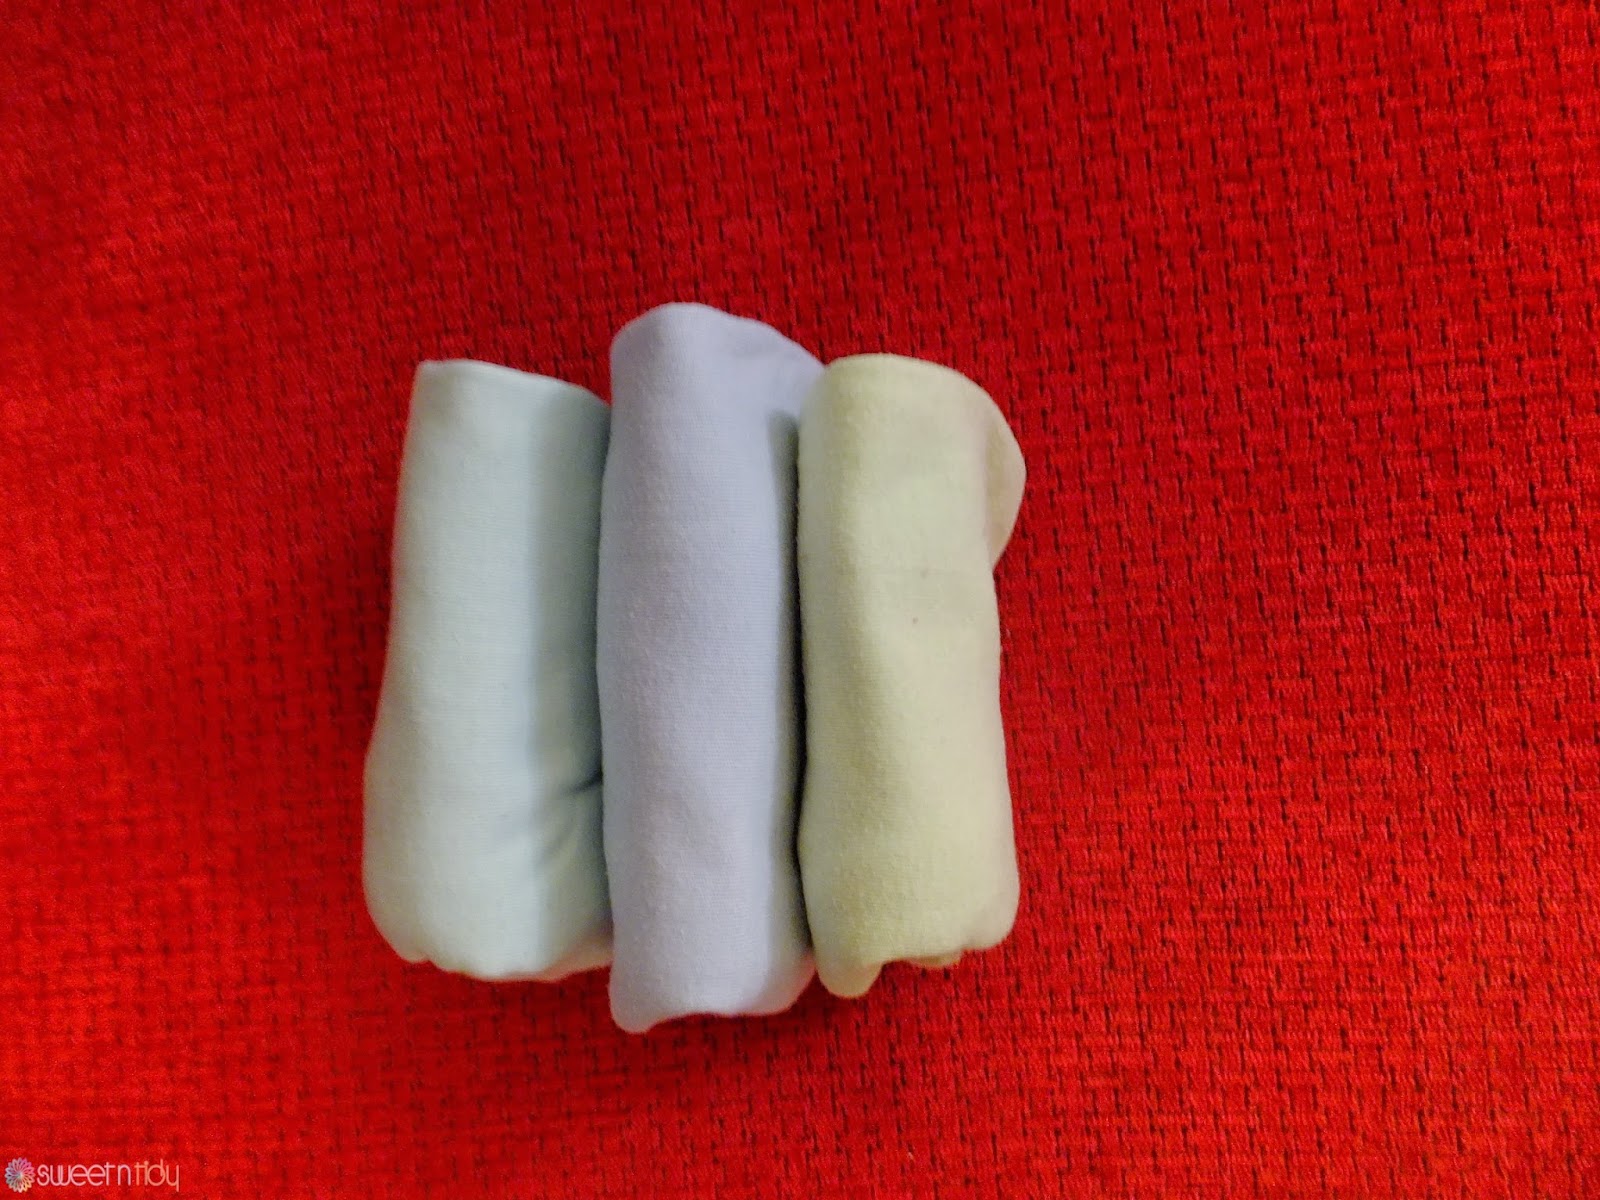
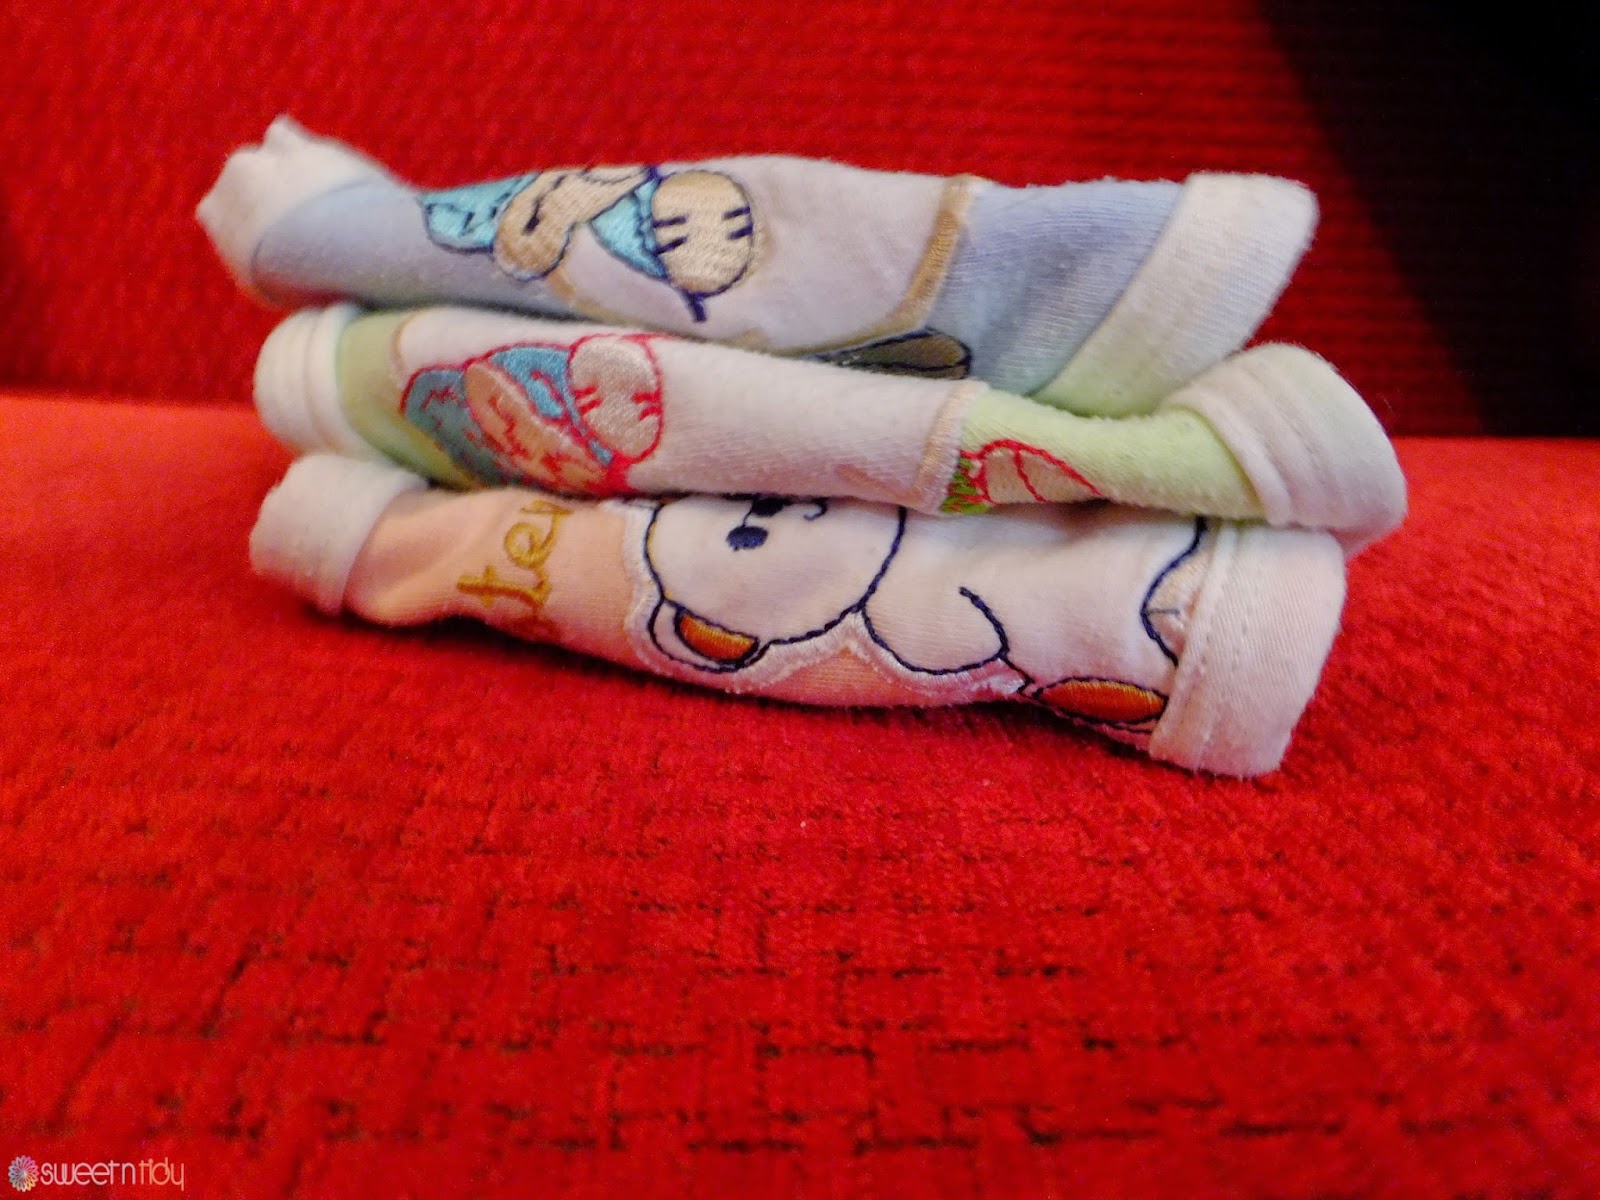
The result


How to fold baby clothes

How to fold baby clothes

How to fold baby clothes


I hope the pictures were clear and instructions were easy. If you like to have a tour in the dresser click here. I hope you like this post. See your comments, feedback and responses. See you next post.